Agitating homemade PCBs with ease
If you want to make PCBs at home and you don’t happen to own a CNC mill, then you’ll probably need to turn to chemical etching. Use one of several different techniques to mask the blank PCB’s copper that you want to keep, then toss the whole thing into a bath to dissolve away the unmasked copper. Unfortunately, the last step can be slow, which is why Chris Borge built this PCB agitator.
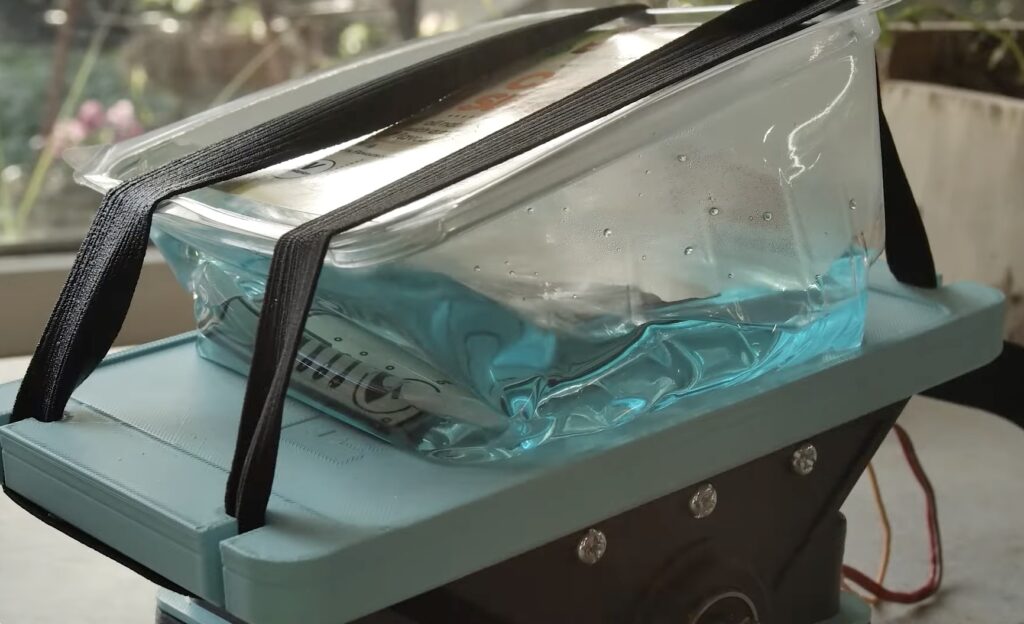
Alton Brown’s philosophy on “unitaskers” is wise when it comes to the kitchen, but things are different in the workshop. Sometimes a tool or machine is so useful that it is worth keeping around — even if it only does one job. That’s the case here, because Borge’s machine only does one thing: tilts back and forth. If a container with a PCB in an etchant bath is sitting on top of the machine, that action will slosh the chemicals around and the agitation will dramatically speed up the process.
On a mechanical level, this is extremely simple. It only requires a handful of 3D-printed parts, some fasteners, and a couple of bearings. The bearings provide a rotational interface between the stationary base (weighed down with poured concrete) and the pivoting platform. The electronics are even simpler and consist of an Arduino Nano board and a small hobby servo motor. The Arduino just tells the servo motor to move back and forth endlessly, tilting the platform and providing constant agitation.
The post Agitating homemade PCBs with ease appeared first on Arduino Blog.