Reading view

There are new articles available, click to refresh the page.

Using Python with virtual environments | The MagPi #148

Raspberry Pi OS comes with Python pre-installed, and you need to use its virtual environments to install packages. The latest issue of The MagPi, out today, features this handy tutorial, penned by our documentation lead Nate Contino, to get you started.

Raspberry Pi OS comes with Python 3 pre-installed. Interfering with the system Python installation can cause problems for your operating system. When you install third-party Python libraries, always use the correct package-management tools.

On Linux, you can install python dependencies in two ways:

  • use apt to install pre-configured system packages
  • use pip to install libraries using Python’s dependency manager in a virtual environment
It is possible to create virtual environments inside Thonny as well as from the command line

Install Python packages using apt

Packages installed via apt are packaged specifically for Raspberry Pi OS. These packages usually come pre-compiled, so they install faster. Because apt manages dependencies for all packages, installing with this method includes all of the sub-dependencies needed to run the package. And apt ensures that you don’t break other packages if you uninstall.

For instance, to install the Python 3 library that supports the Raspberry Pi Build HAT, run the following command:

$ sudo apt install python3-build-hat

To find Python packages distributed with apt, use apt search. In most cases, Python packages use the prefix python- or python3-: for instance, you can find the numpy package under the name python3-numpy.

Install Python libraries using pip

In older versions of Raspberry Pi OS, you could install libraries directly into the system version of Python using pip. Since Raspberry Pi OS Bookworm, users cannot install libraries directly into the system version of Python.

Attempting to install packages with pip causes an error in Raspberry Pi OS Bookworm

Instead, install libraries into a virtual environment (venv). To install a library at the system level for all users, install it with apt.

Attempting to install a Python package system-wide outputs an error similar to the following:

$ pip install buildhat
error: externally-managed-environment

× This environment is externally managed
╰─> To install Python packages system-wide, try apt install
    python3-xyz, where xyz is the package you are trying to
    install.
    
    If you wish to install a non-Debian-packaged Python package,
    create a virtual environment using python3 -m venv path/to/venv.
    Then use path/to/venv/bin/python and path/to/venv/bin/pip. Make
    sure you have python3-full installed.
    
    For more information visit http://rptl.io/venv

note: If you believe this is a mistake, please contact your Python installation or OS distribution provider. You can override this, at the risk of breaking your Python installation or OS, by passing --break-system-packages.
hint: See PEP 668 for the detailed specification.

Python users have long dealt with conflicts between OS package managers like apt and Python-specific package management tools like pip. These conflicts include both Python-level API incompatibilities and conflicts over file ownership.

Starting in Raspberry Pi OS Bookworm, packages installed via pip must be installed into a Python virtual environment (venv). A virtual environment is a container where you can safely install third-party modules so they won’t interfere with your system Python.

Use pip with virtual environments

To use a virtual environment, create a container to store the environment. There are several ways you can do this depending on how you want to work with Python:

per-project environments

Create a virtual environment in a project folder to install packages local to that project

Many users create separate virtual environments for each Python project. Locate the virtual environment in the root folder of each project, typically with a shared name like env. Run the following command from the root folder of each project to create a virtual environment configuration folder:

$ python -m venv env

Before you work on a project, run the following command from the root of the project to start using the virtual environment:

$ source env/bin/activate

You should then see a prompt similar to the following:

$ (.env) $

When you finish working on a project, run the following command from any directory to leave the virtual environment:

$ deactivate

per-user environments

Instead of creating a virtual environment for each of your Python projects, you can create a single virtual environment for your user account. Activate that virtual environment before running any of your Python code. This approach can be more convenient for workflows that share many libraries across projects.

When creating a virtual environment for multiple projects across an entire user account, consider locating the virtual environment configuration files in your home directory. Store your configuration in a folder whose name begins with a period to hide the folder by default, preventing it from cluttering your home folder.

Add a virtual environment to your home directory to use it in multiple projects and share the packages

Use the following command to create a virtual environment in a hidden folder in the current user’s home directory:

$ python -m venv ~/.env

Run the following command from any directory to start using the virtual environment:

$ source ~/.env/bin/activate

You should then see a prompt similar to the following:

$ (.env) $

To leave the virtual environment, run the following command from any directory:

$ deactivate

Create a virtual environment

Run the following command to create a virtual environment configuration folder, replacing <env-name> with the name you would like to use for the virtual environment (e.g. env):

$ python -m venv <env-name>

Enter a virtual environment

Then, execute the bin/activate script in the virtual environment configuration folder to enter the virtual environment:

$ source <env-name>/bin/activate

You should then see a prompt similar to the following:

$ (<env-name>) $

The (<env-name>) command prompt prefix indicates that the current terminal session is in a virtual environment named <env-name>.

To check that you’re in a virtual environment, use pip list to view the list of installed packages:

$ (<env-name>) $ pip list
Package    Version
---------- -------
pip        23.0.1
setuptools 66.1.1

The list should be much shorter than the list of packages installed in your system Python. You can now safely install packages with pip. Any packages you install with pip while in a virtual environment only install to that virtual environment. In a virtual environment, the python or python3 commands automatically use the virtual environment’s version of Python and installed packages instead of the system Python.

Top Tip
Pass the –system-site-packages flag before the folder name to preload all of the currently installed packages in your system Python installation into the virtual environment.

Exit a virtual environment

To leave a virtual environment, run the following command:

$ (<env-name>) $ deactivate

Use the Thonny editor

We recommend Thonny for editing Python code on the Raspberry Pi.

By default, Thonny uses the system Python. However, you can switch to using a Python virtual environment by clicking on the interpreter menu in the bottom right of the Thonny window. Select a configured environment or configure a new virtual environment with Configure interpreter.

The MagPi #148 out NOW!

You can grab the new issue right now from Tesco, Sainsbury’s, Asda, WHSmith, and other newsagents, including the Raspberry Pi Store in Cambridge. It’s also available at our online store, which ships around the world. You can also get it via our app on Android or iOS.

You can also subscribe to the print version of The MagPi. Not only do we deliver it globally, but people who sign up to the six- or twelve-month print subscription get a FREE Raspberry Pi Pico W!

The post Using Python with virtual environments | The MagPi #148 appeared first on Raspberry Pi.

CYOBot v2 ESP32-S3-based open-source modular robotics platform supports up to 16 servos (Crowdfunding)

CYOBot v2 ESP32-S3 modular robotics platform

Create Your Own Bot (CYOBot) v2 is an open-source, modular robotics platform for students, educators, hobbyists, and future engineers based on the ESP32-S3 microcontroller and featuring up to 16 servo motors for complex control. The CYOBot v2 is a follow-up to the previous quadrupedal robotic platform from the same company. It adds new features such as a modular design, an upgrade to the ESP32-S3 chip, more motor channels, and an expansion block with more peripherals. It also supports integrating AI systems, such as ChatGPT, for added functionality. The CYOBot supports up to three configurations via the CYOBrain — which powers the robotics platform and controls the servo motors — and separate 3D-printed components. The CYOBot Crawler is a four-legged robot powered by eight 180-degree servo motors. The CYOBot Wheeler form factor features four 360-degree motors linked to wheels at the end of each leg and is essentially a hybrid between [...]

The post CYOBot v2 ESP32-S3-based open-source modular robotics platform supports up to 16 servos (Crowdfunding) appeared first on CNX Software - Embedded Systems News.

Easy and fun block-based coding with the Alvik robot is here, now Chromebook compatible!

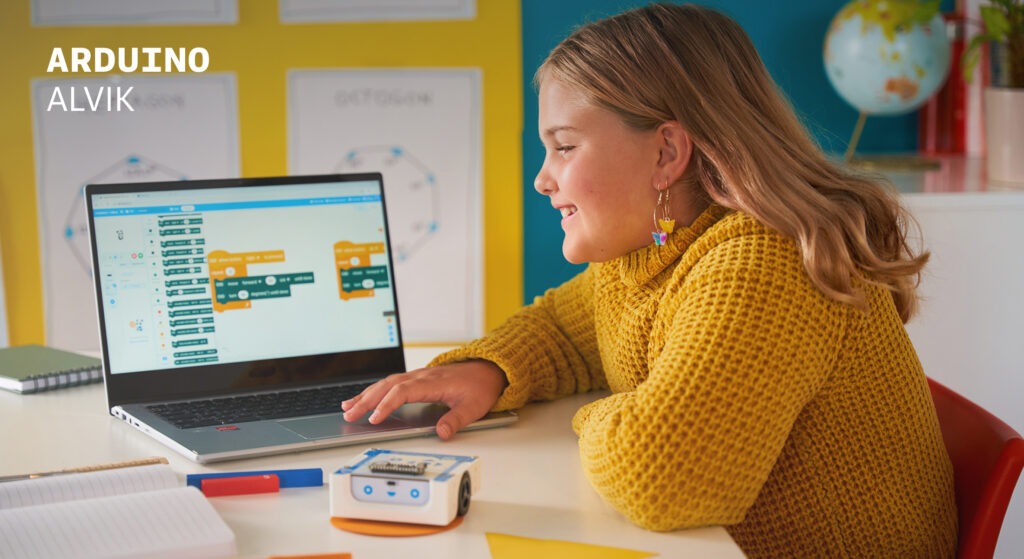
At Arduino, we believe coding should be accessible to everyone – including the youngest learners. With this in mind, we’re thrilled to announce that the Arduino Alvik robot now officially supports block-based coding!

Coding has never been easier thanks to Alvik’s seamless integration with mBlock, one of the most widely used platforms for educational hardware, available in both desktop and web-based versions compatible with Chromebook, MacBook, and Windows PC. With mBlock’s intuitive block-based coding and Alvik as a tangible, interactive robot companion, elementary students and teachers can explore robotics, mathematics, astronomy, and other engaging projects. 

With the release of the public beta version of the integration in mBlock, Alvik’s new features and improvements will be implemented over time based on feedback from educators.

Beyond coding: bringing all areas of learning to life

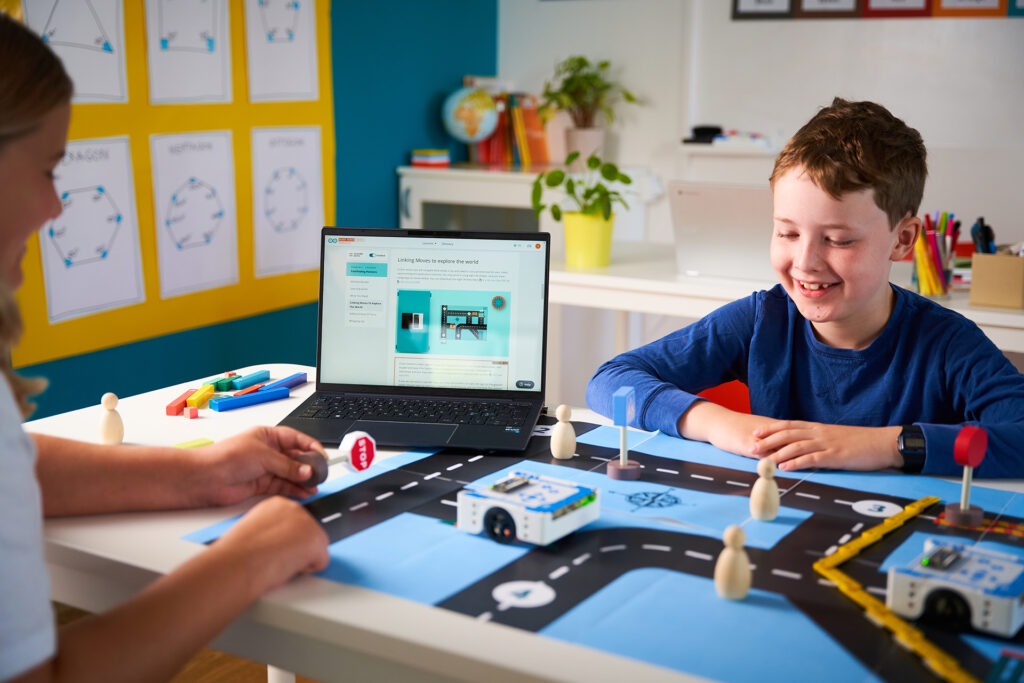
Alvik provides a unique, hands-on learning experience. This makes it the ideal tool for elementary-aged students who benefit from interacting with something they can see, touch, and control. They can get immediate feedback on their commands and see the robot’s reactions and movements in real time. 

But Alvik is more than just a gateway to coding; it’s a multidisciplinary tool that can enrich learning across all subjects. This classroom companion truly reflects the spirit of STEAM education, enabling teachers to bring learning to life in creative and often unexpected ways. 

Teaching abstract concepts to elementary-aged students can be tough. However, young children grasp abstract concepts and problem-solving skills more effectively when “learning becomes more hands-on, tangible and interactive”. This is where physical tools like Alvik can make a significant difference.

Through Arduino’s engaging Block-Based Coding and Robotics lesson, children can program their Alvik to perform an array of exciting tasks. These step-by-step project-based activities cover a diverse range of subjects, allowing students to convert abstract concepts into concrete, relatable experiences. This immersive approach is a great way to nurture kids’ natural curiosity and deepen their understanding of challenging topics and ideas.

And it doesn’t stop there. With LEGO® Technic™ compatibility and M3 screw connectors, Alvik becomes a canvas for creativity. Students can customize and decorate their robot for special occasions like Halloween and Christmas, blending art design with engineering and making the learning process even more personal and engaging.
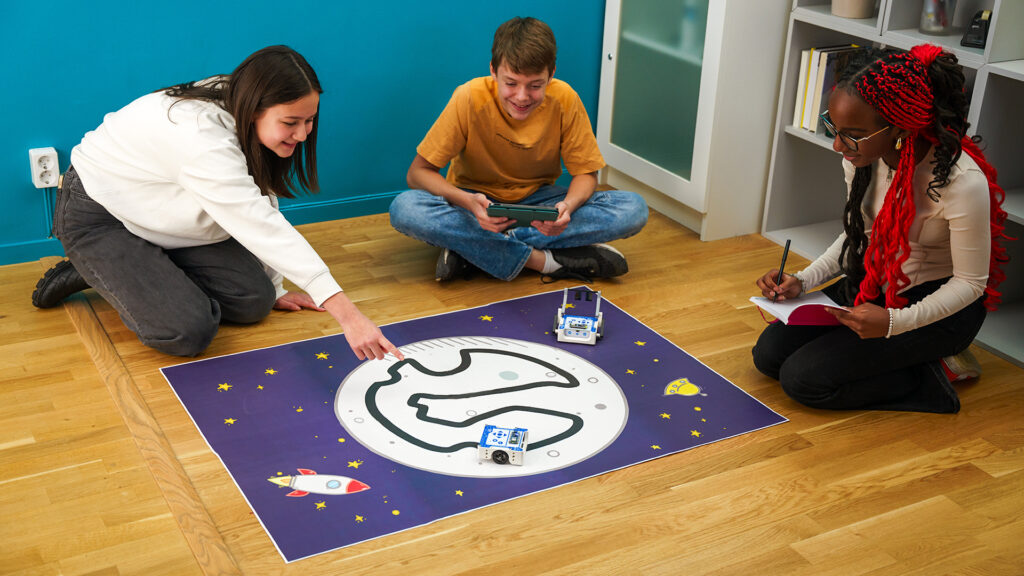
With Alvik, kids aren’t just learning to code – they’re learning to think creatively and critically, and explore a wide range of subjects in a way of solving real-life tasks.

Why choose Alvik with block-based coding for primary school?

1. Enhances engagement with a child-friendly interface – Based on the popular Scratch platform created by MIT, mBlock is crafted specifically for elementary-aged students. With its game-like elements, vibrant colors, and instant visual feedback, block-based coding lowers the entry barrier and makes programming fun and engaging for learners of all ages.

2. Builds confidence at an early age – Block-based coding helps eliminate common frustrations like syntax errors, which can hinder young learners in text-based programming. Instead, students experience early success as they watch the Alvik robot follow their commands – boosting their confidence and love for creating more.

3. Makes interdisciplinary learning easy – Following the lessons available in Arduino’s dedicated online platform, elementary-aged teachers could enhance the students’ knowledge of various subject matters through playing and hands-on creative projects.

4. Simplifies abstract concepts – Abstract coding concepts such as loops, conditionals, and variables can be difficult for young students to grasp. Block-based coding provides a visual and interactive way to understand these concepts. Blocks represent specific functions and operations, making abstract ideas more concrete.

5. Supports the transition to text-based coding – Block-based coding with Alvik isn’t just a fun starting point – it’s a bridge to more advanced learning. As students advance, they can easily transition from blocks to text-based coding languages like MicroPython with a simple click of a button. This seamless shift lets students build on their skills and dive deeper into the world of programming at their own pace. And you won’t have to worry about purchasing separate hardware either, as students can program their Alvik robot by following the lessons in Arduino’s Explore Robotics in MicroPython course.

6. Supports Chromebook The mBlock web platform works across Chromebooks, Windows PCs, and MacBooks, so students and teachers can jump into their projects on any device, anytime.

A wealth of support at your fingertips

We know that stepping into the world of coding can feel like a challenge, especially for elementary teachers without a computer science background. That’s why Alvik comes with free access to dedicated learning resources with project-based lesson plans, step-by-step tutorials, and engaging activities. These are currently available in English, Italian and Spanish, with more lessons coming soon. Utilizing both Alvik and mBlock means teachers can lead their students into the world of coding and robotics (and beyond!) with confidence.

Ready to get started?

With Arduino’s strong reputation for innovation and mBlock’s child-friendly platform, we’re combining our strengths to make learning robotics and coding more engaging and enjoyable than ever before. 

Are you ready to inspire the next generation of innovators? Bring the joy of coding into your classroom with Alvik! 

Visit our online store to buy your Arduino Alvik robot today.

You can also visit our list of education partners to contact a local distributor for more information or to make a purchase.

The post Easy and fun block-based coding with the Alvik robot is here, now Chromebook compatible! appeared first on Arduino Blog.

Arduino’s Alvik Robot shortlisted for the Bett Awards 2025 in the AV, VR/AR, Robotics, and Digital Device category!

We’re thrilled to announce that Arduino Education has been shortlisted for the Bett Awards 2025, this time in the AV, VR/AR, Robotics, or Digital Device category with our Alvik robot! This recognition highlights our dedication to innovation, inclusivity, and the advancement of practical STEM education.

The Bett Awards celebrate leading-edge technology in education, with entries evaluated on key criteria such as innovation, curriculum suitability, online safety, research evidence, customer support and more.

About the Alvik robot

Alvik is an adaptable, lifelong learning robot that supports educators and students as they transition from block-based programming to text-based coding using MicroPython and Arduino language. It enables them to explore robotics and tackle real-life challenges with comprehensive learning content. However, Alvik isn’t just designed to teach programming and robotics; it can also enhance students’ understanding of topics like mathematics and astronomy, along with other engaging projects. Alvik’s curriculum-aligned course makes it an ideal fit for today’s classrooms, empowering students with hands-on skills and a strong foundation in STEAM.

But what truly sets Alvik apart from other educational robots is its limitless potential for customization. Students and teachers can easily add external sensors using the I2C Grove and Qwiic plug-and-play connectors, eliminating the need for soldering or complex wiring. Additionally, the LEGO® Technic™ and M3 screw connectors encourage hands-on creativity, allowing users to build custom components and further expand Alvik’s capabilities.

We’re honored to be recognized once again, and we can’t wait to attend Bett in just a couple of months. The winners will be announced at the Bett Awards 2025 Ceremony on January 22nd at The Brewery, London. We look forward to seeing you there!

The post Arduino’s Alvik Robot shortlisted for the Bett Awards 2025 in the AV, VR/AR, Robotics, and Digital Device category! appeared first on Arduino Blog.

❌