Bringing real-time edge AI applications to developers
In this guest post, Ramona Rayner from our partner Sony shows you how to quickly explore different models and AI capabilities, and how you can easily build applications on top of the Raspberry Pi AI Camera.
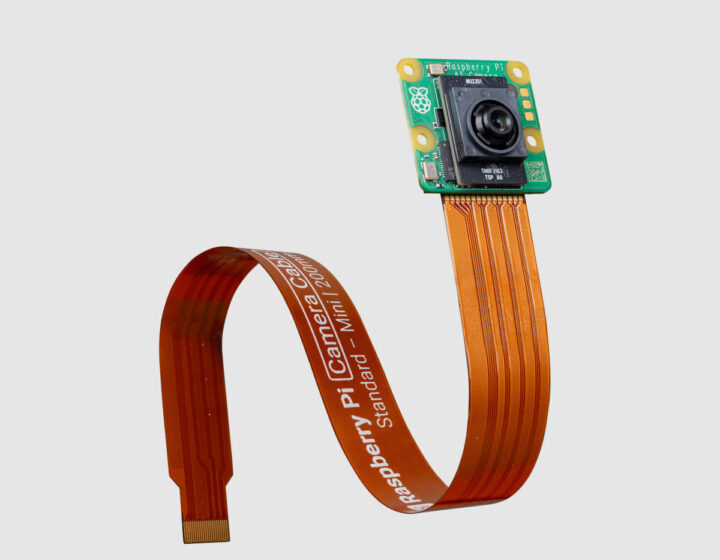
The recently launched Raspberry Pi AI Camera is an extremely capable piece of hardware, enabling you to build powerful AI applications on your Raspberry Pi. By offloading the AI inference to the IMX500 accelerator chip, more computational resources are available to handle application logic right on the edge! We are very curious to see what you will be creating and we are keen to give you more tools to do so. This post will cover how to quickly explore different models and AI capabilities, and how to easily build applications on top of the Raspberry Pi AI Camera.
If you didn’t have the chance to go through the Getting Started guide, make sure to check that out first to verify that your AI Camera is set up correctly.
Explore pre-trained models
A great way to start exploring the possibilities of the Raspberry Pi AI Camera is to try out some of the pre-trained models that are available in the IMX500 Model Zoo. To simplify the exploration process, consider using a GUI Tool, designed to quickly upload different models and see the real-time inference results on the AI Camera.
In order to start the GUI Tool, make sure to have Node.js installed. (Verify Node.js is installed by running node --version in the terminal.) And build and run the tool by running the following commands in the root of the repository:
make build./dist/run.shThe GUI Tool will be accessible on http://127.0.0.1:3001. To see a model in action:
- Add a custom model by clicking the
ADDbutton located at the top right corner of the interface. - Provide the necessary details to add a custom network and upload the
network.rpkfile, and the (optional)labels.txtfile. - Select the model and navigate to
Camera Previewto see the model in action!

Here are just a few of the models available in the IMX500 Model Zoo:
| Network Name | Network Type | Post Processor | Color Format | Preserve Aspect Ratio | Network File | Labels File |
|---|---|---|---|---|---|---|
| mobilenet_v2 | packaged | Classification | RGB | True | network.rpk | imagenet_labels.txt |
| efficientdet_lite0_pp | packaged | Object Detection (EfficientDet Lite0) | RGB | True | network.rpk | coco_labels.txt |
| deeplabv3plus | packaged | Segmentation | RGB | False | network.rpk | – |
| posenet | packaged | Pose Estimation | RGB | False | network.rpk | – |
Exploring the different models gives you insight into the camera’s capabilities and enables you to identify the model that best suits your requirements. When you think you’ve found it, it’s time to build an application.

Building applications
Plenty of CPU is available to run applications on the Raspberry Pi while model inference is taking place on the IMX500. To demonstrate this we’ll run a Workout Monitoring sample application.
The goal is to count real-time exercise repetitions by detecting and tracking people performing common exercises like pull-ups, push-ups, ab workouts and squats. The app will count repetitions for each person in the frame, making sure multiple people can work out simultaneously and compete while getting automated rep counting.
To run the example, clone the sample apps repository and make sure to download the HigherHRNet model from the Raspberry Pi IMX500 Model Zoo.
Make sure you have OpenCV with Qt available:
sudo apt install python3-opencvAnd from the root of the repository run:
python3 -m venv venv --system-site-packages
source venv/bin/activate
cd examples/workout-monitor/
pip install -e .
Switching between exercises is straightforward; simply provide the appropriate --exercise argument as one of pullup, pushup, abworkout or squat.
workout-monitor --model /path/to/imx500_network_higherhrnet_coco.rpk
 --exercise pullup
Note that this application is running:
- Model post-processing to interpret the model’s output tensor into bounding boxes and skeleton keypoints
- A tracker module (ByteTrack) to give the detected people a unique ID so that you can count individual people’s exercise reps
- A matcher module to increase the accuracy of the tracker results, by matching people over frames so as not to lose their IDs
- CV2 visualisation to visualise the results of the detections and see the results of the application
And all of this in real time, on the edge, while the IMX500 is taking care of the AI inference!

Now both you and the AI Camera are testing out each other’s limits. How many pull-ups can you do?
We hope by this point you’re curious to explore further; you can discover more sample applications on GitHub.
The post Bringing real-time edge AI applications to developers appeared first on Raspberry Pi.
